

How To Fix A Fiberglass Repair Kit
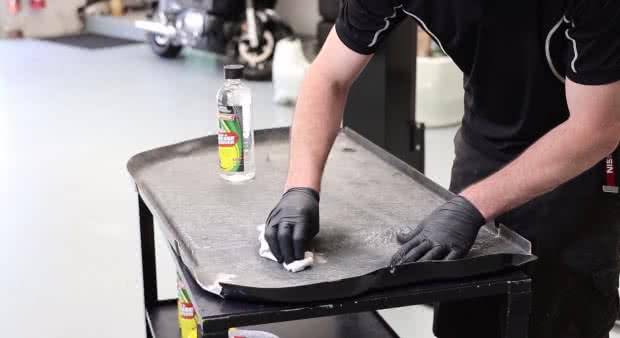
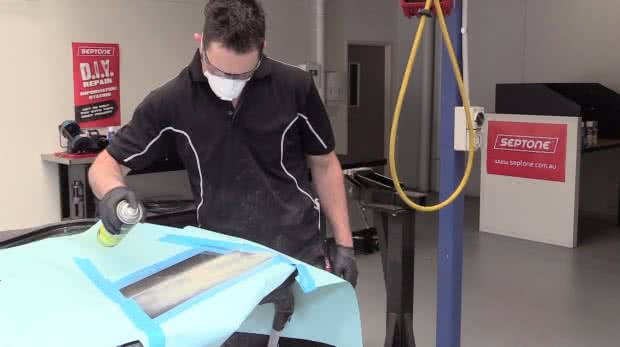
Gear up the Surface
Prepare the surface with Septone Wax & Grease Remover to ensure all dirt, grease oil & contaminants are removed.
Let dry completely.
Handy Tip: Cutting away damaged area & loose pieces.
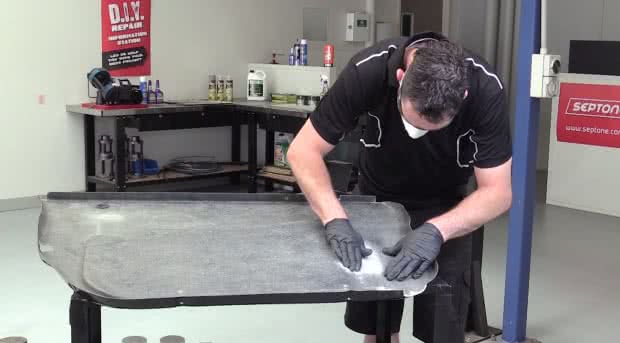
Sand the Surface
Sand the surface with sandpaper 80 grit to remove all primer, pigment, rust or gel-coat. Sand ii-5cm beyond damaged expanse & down to bare metal or fibreglass.
When possible, both sides of the damaged area should be repaired for added force. Depress or slightly bend the edges inward.
Remove all dust created from sanding with a dry out fabric or compressed air, and so re-clean the surface with Septone Wax & Grease Remover.
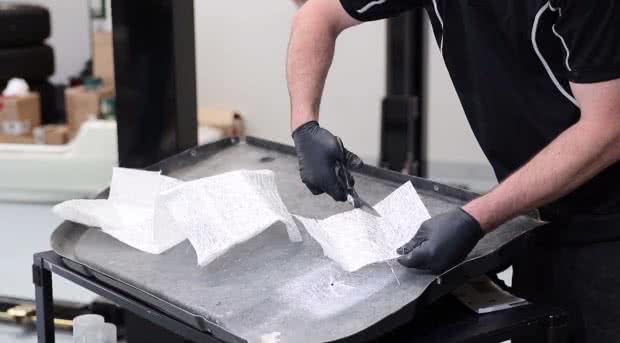
Cutting the Fibreglass
Cut the fibreglass mat to the required size & allow an extra centimetre effectually the edges.
On tight curves tear the mat to fit, adding extra pieces if needed.
Put the mat on a clean surface until ready for use (EG Newspaper).
30 Minute Rule
Mix no more resin than what you can utilize in thirty minutes.
250ml of resin will comprehend approximately 0.25m2 of fibreglass matting
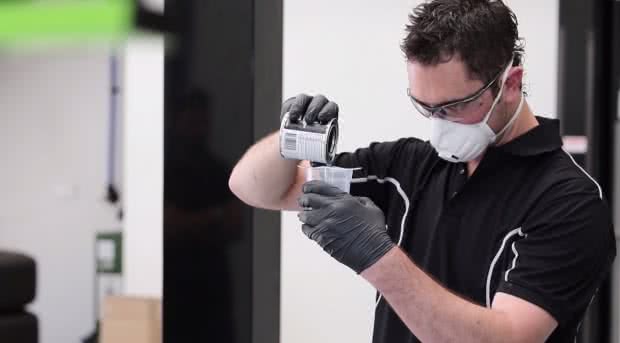
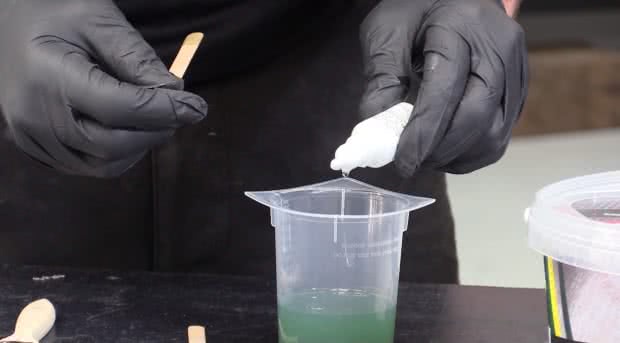
Mix Resin Thoroughly
Mix the resin thoroughly with Septone MEKP Catalyst:
For 50mL resin on a cold twenty-four hours, employ 40 drops of goad.
For 50mL of resin on a hot mean solar day, use 20 drops of catalyst.
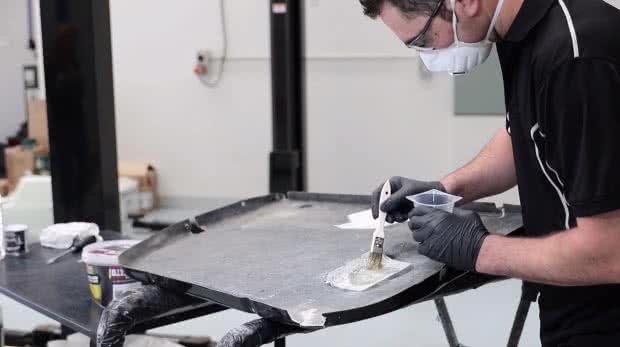
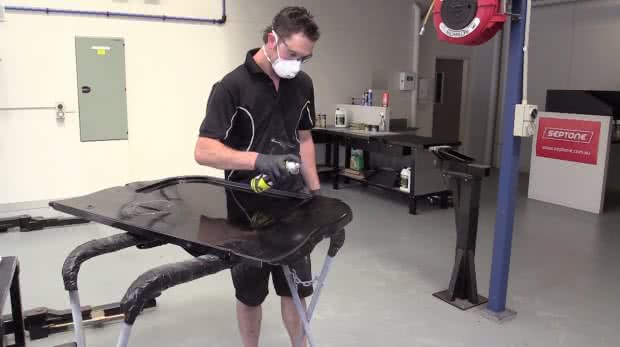
Brush on Resin
Brush a coat of mixed resin on the damaged area extending five-10cm beyond the repair. Place the beginning layer of fibreglass matt onto the mixed resin. Use the paint brush to saturate the matt with mixed resin. A dabbing motility will help saturate the fibreglass matt & remove any air pockets.
Continue applying additional layers of matting & mixed resin as needed while the first application is even so mucilaginous & wet. If the surface dries hard & is no longer gluey, sand with 80 grit sandpaper earlier applying additional layers of mixed resin & matting.
Follow the same process if both sides are being repaired.
Let Area to Cure
Allow area to cure, approximately 2 hours at around 23-24 degrees.
Curing will accept longer at cold temperatures.
In one case cured, sand repaired expanse with dry out sandpaper 80 dust.
Clean area with Septone Wax & Grease Remover

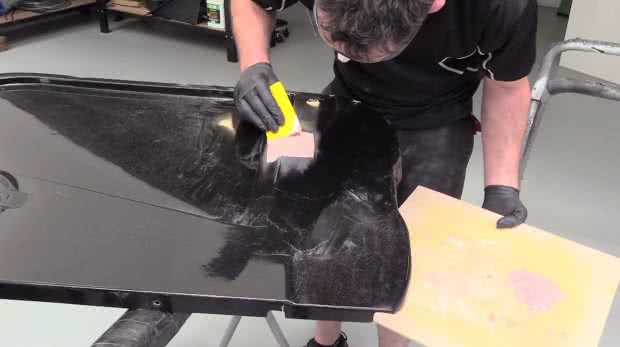
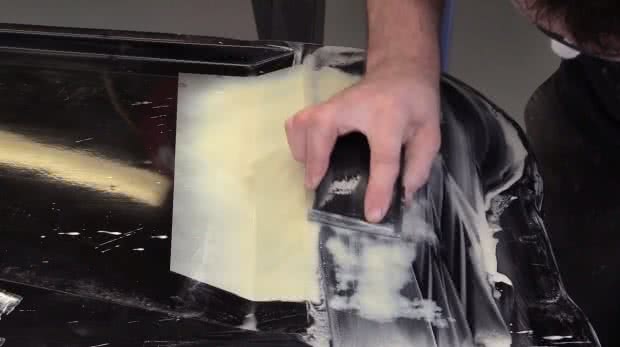
Apply Motorcar Filler
To return the contour or to smooth out low areas in the surface, use a layer of Septone Car Filler. Mix Septone Car Filler with hardener thoroughly & apply a sparse layer of filler to the repair surface using firm pressure level on the applicator to force the filler into all crevices & eliminate any air pockets.
Gradually apply the remaining Auto Filler until information technology'due south slightly higher than the edge of the repair.
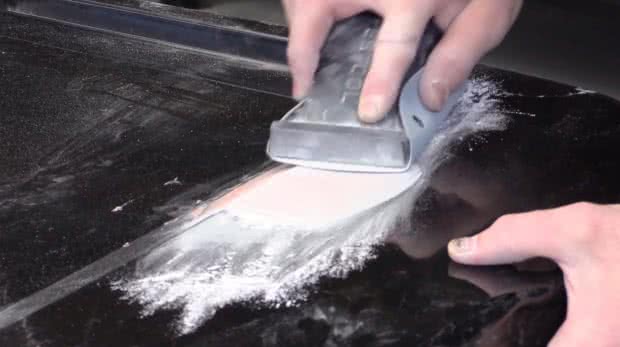
Leave for 30 Minutes
Allow xx-30 minutes for car filler to cure. Sand with 180 grit sandpaper.
Ensure you feather the edges. Re-clean with Septone Wax & Grease Remover.
Mask off Area
Mask off the repair area in preparation of the primer coat.
Use Septone Acrylic Primer Filler over the repair area in sparse layers, iii-4 coats.
Leave five minutes dry time between each coat.
Subsequently the last glaze leave to dry for 4 hours or overnight.
Remove Masking Tape
Remove all masking tape/newspaper & kickoff sanding repaired expanse with wet & dry 1200 grit sandpaper. Feather edges & sand until smooth.
Clean off Wax & Grease Remover
Clean the Septone Wax & Grease Remover.
Your repair is now gear up for application of a coloured basecoat.
Select a basecoat colour matched to your original vehicle paint code & apply as directed on the back of the can.
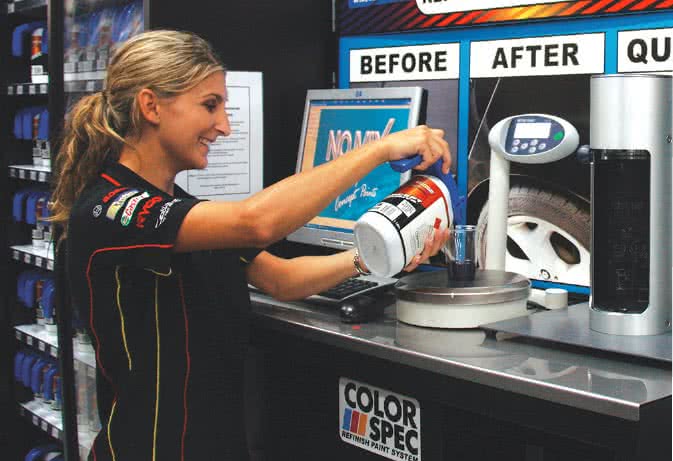
Select the Correct Basecoat
When selecting a base coat, make certain you bank check out the "ColorSpec Pigment Mixing" services offered in store while y'all wait!

Source: https://www.supercheapauto.com.au/blog/how-to/paint-body-repair/repairing-fibreglass.html
Posted by: gilleygiathe92.blogspot.com
0 Response to "How To Fix A Fiberglass Repair Kit"
Post a Comment